The Masking Step.
This is the step that makes the look. Don't skip it — Philip's words.
Chapters
- 0:00 What we're doing & why it's the most important step
- 1:42 Select the subject, then invert
- 3:15 Exposure slider — the brighten move
- 4:38 Contrast slider — softening the edge
- 5:52 Whites slider — final brightness
- 6:30 Before / after review
Your settings for this step
What you'll do in this lesson
- Select the subject using Lightroom's auto-select tool
- Invert the selection so you're masking the background, not the subject
- Pull the exposure up — brighten the backdrop to the edge of blowing out
- Drop the contrast — softens edge shadows and gives the signature falloff
- Adjust whites to taste based on the day's light
Before & after
 Before mask
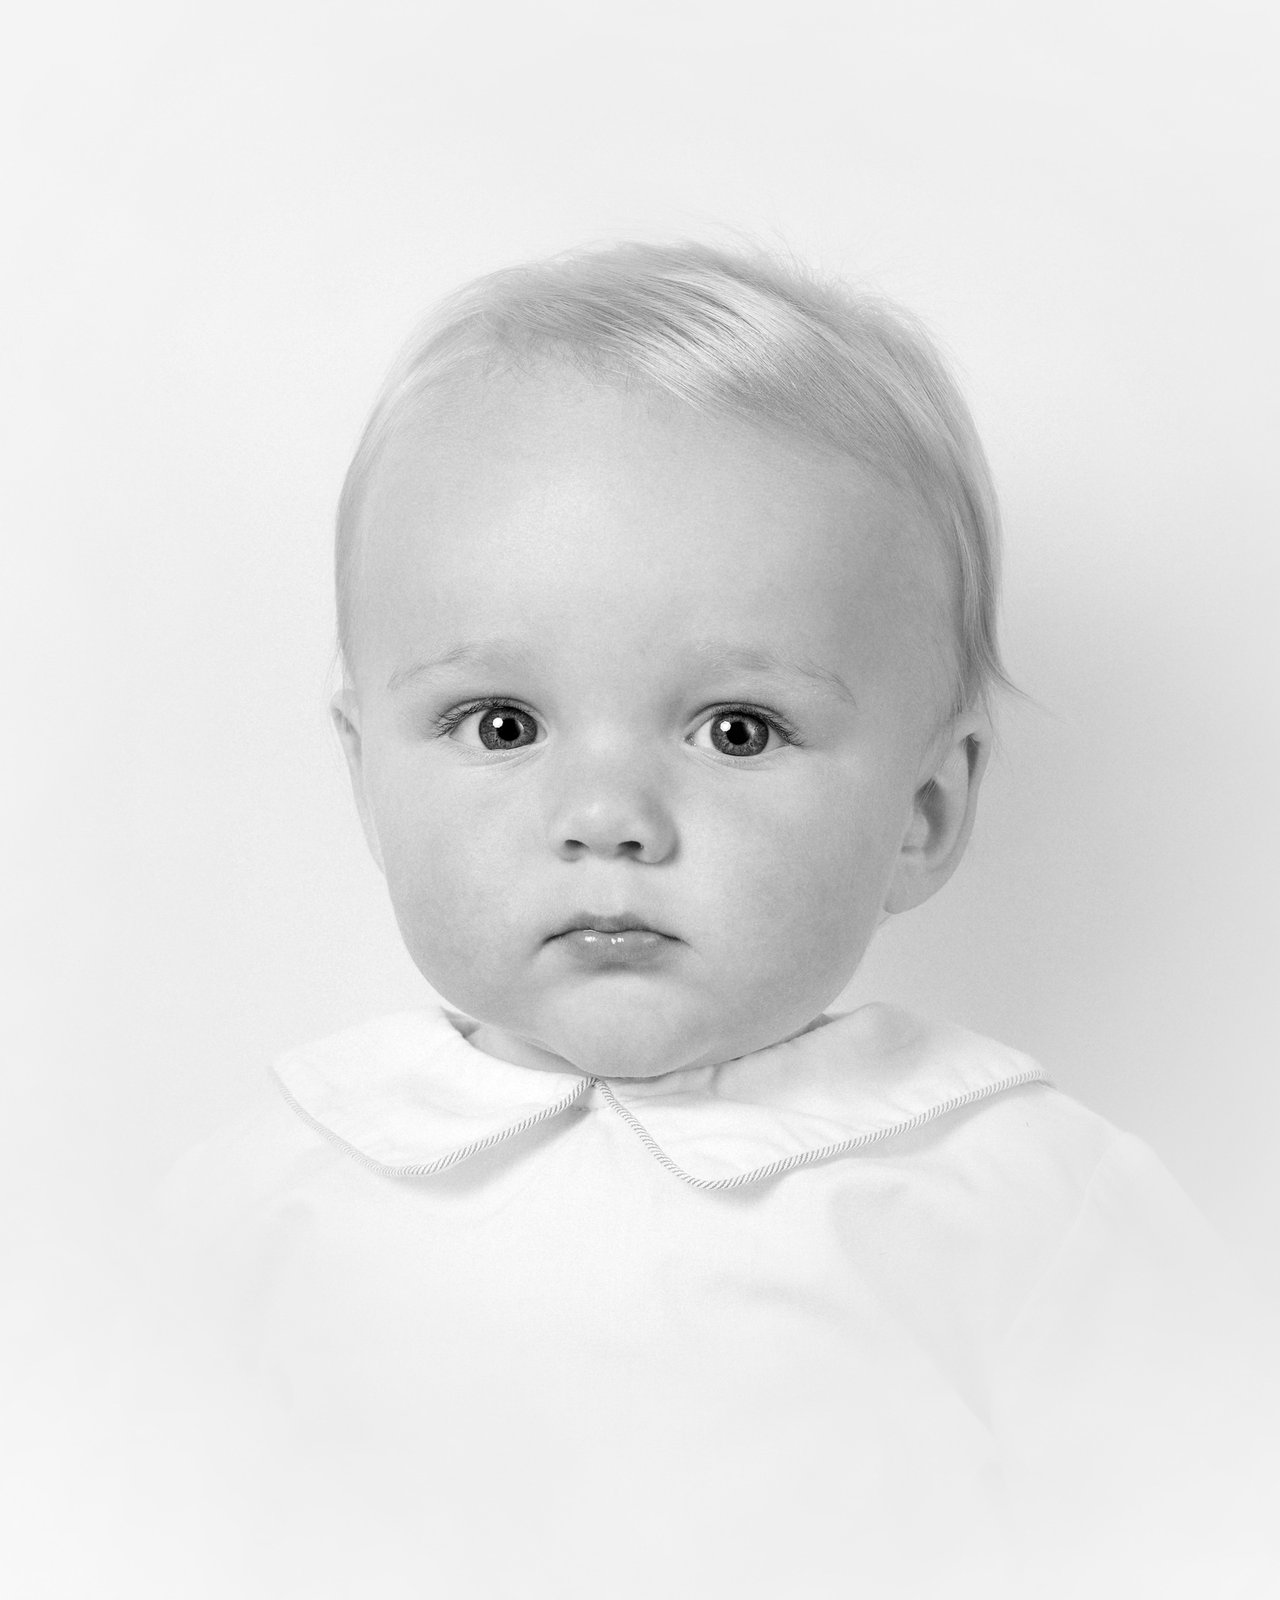 After mask
This is quite possibly the most essential part of the heirloom editing process that I've discovered and crafted in perfecting my look. DO NOT SKIP OUT ON THIS STEP.
Why we don't want pure white
A slight gray on the backdrop is intentional — it gives the heirloom a vintage feel that pure white would flatten. The masking step brightens it just enough to feel light and airy without tipping into a flash-bounced studio look.
Lesson resources
Transcript
0:00 Okay, so we're in Lightroom. I've already done a base edit on this image — adjusted temp, dropped the contrast a touch, pulled the highlights down. That's lesson 5.1. Now we're doing what I think of as the heart of the heirloom edit.
0:24 I'm going to grab the masking tool. You can hit Shift+W or click it on the right panel. And I'm going to use Select Subject — Lightroom does a really good job auto-detecting the person.
0:52 Now here's the move: I'm going to invert that mask. So instead of editing the subject, I'm editing everything around them — the backdrop. Click invert, and now my mask is the background.
1:18 Exposure first. I'm pushing this up to about +1.4 on this one. I want the backdrop to brighten right to the edge of blowout, but not actually blow out. You'll get a feel for it after a few images.
1:42 Contrast is the big one. I'm dropping contrast down to about -58. This is what's softening the edges. Look at the hair right here — those flyaway strands are now coming through naturally, instead of looking sharp and weird.
2:30 Whites I'm going to bump up just a bit — maybe +12. That's lifting the brightest parts of the backdrop without making the whole thing feel flat.
5.3 — Opening in Photoshop
Right-click → edit in Photoshop 2025, unlock the layer, duplicate it for the heirloom edit layer. ~3 minutes.